If you've had a Google sitemap.xml file created for your website, the last step is to have it correctly uploaded into your public_html directory of your site. This tutorial will show you how to upload your sitemap using a FTP client. The FTP client we shall be using for this tutorial is FileZilla a freeware software program that you can get here: Click Here To Get FileZilla
If you are using FileZilla, use the following for the login information:
Host: add your domain name. Example: example.com
Username: Is the username you use to sign into the cPanel with.
Password: Same password you use to access the cPanel.
Port: Leave this blank![]()
Then click Quickconnect.
Once you have logged into your FTP client, do the following to install your sitemap.xml file.
|
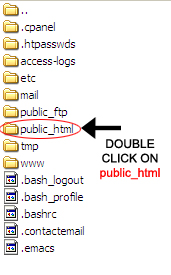
1. Find your public_html folder on the right hand side and double click on it. |
|
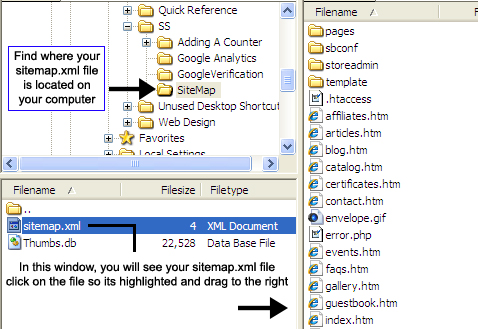
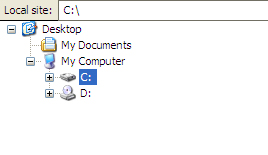
2. On the left hand side of the screen, you will see a tree menu where you can locate your sitemap.xml file from your computer. |
3. Once you have found the xml file on your computer, on the lower left box you will see the actual sitemap.xml file. Drag from this location over to the right part of the screen under all the folders. Be careful not to accidentally drag it into a folder.  Note: Do not place the XML file in one of the folders. It needs to be directly into the public_html root directory.  |
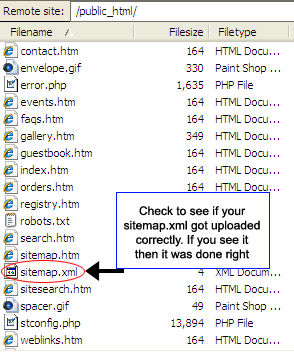
4. Once you have dragged the XML file over, look in the list on the right and make sure that you see the sitemap.xml file in the list of files. Once you see it correctly in there, you will know that you uploaded it correctly!  |


