| Note: For this tutorial I will be using Photoshop CS3. Any version 6+ should work with this method.
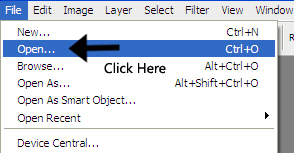
1. To open the product image you are wanting to watermark, go to File > Open, browse to the image and then click Open. |
2. Create a new layer by clicking Layer > New > Layer or by clicking Shift+CTRL+N. If the image you are working on is dark, you can use a white text, if the image is light, you will want to use black. For the image in this example, I will be using white since its a darker image. So make sure that your Foreground color is set to white/or black. 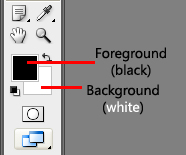 |
3. For this tutorial we'll be using the Arial font at size 24. If your image is very large, you can make your font size bigger. |
4. On the new layer you created, make sure the Text tool is selected and type out your text on the image. It depends on what you want to use. If your business name is not long you can do that it would look nice or you can just type out copyright.  |
5. On the menu bar, go to Edit > Free Transform (CTRL+T).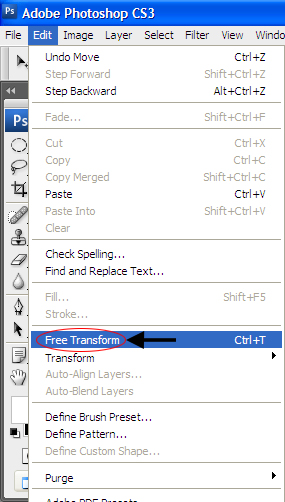 |
6. Your text should now be selected like below. If this is the case then hold your mouse over the top right corner until it looks like a curve. Now turn the text so that it slants to an angel. When it ask if you want to complete Transformation, click Yes. |
7. Now that you have your titled text. Take the Move Tool (V) and move your text to the corner of your image like so: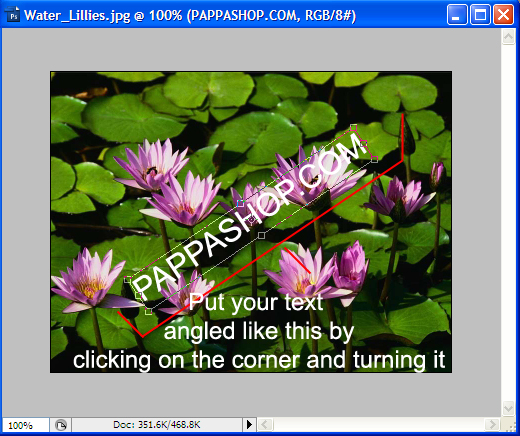 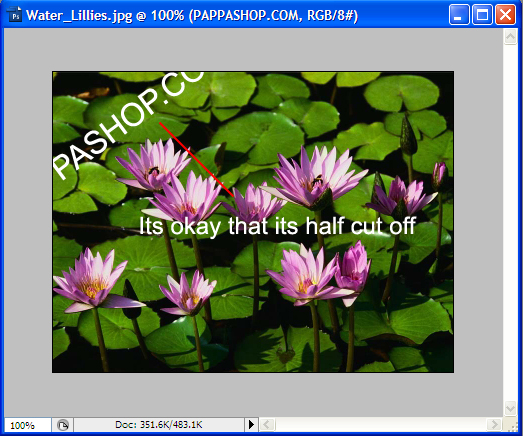 Note: It's okay that half of the text is cut off, we want to make sure to get the angles of the image. |
8. Right click on your Text layer on the Layers Palette. Choose Duplicate Layer.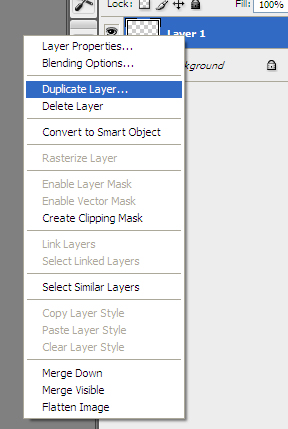 |
9. You will now have a copy of your text, drag it down and angle it under the first text.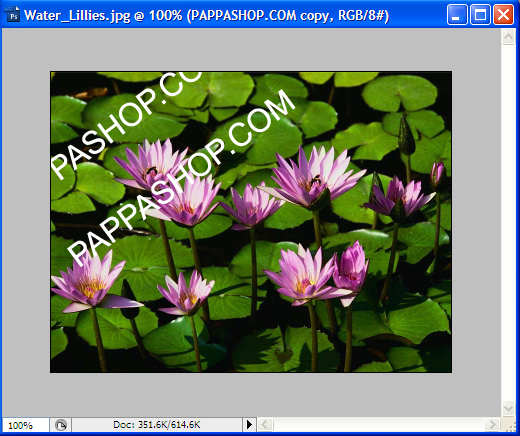 |
10. Repeat until you have enough of your text going across the image. See image below: 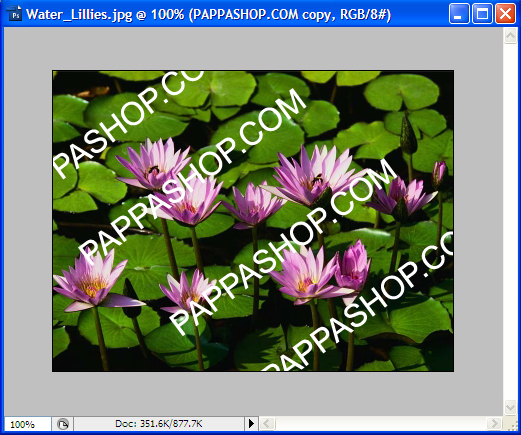 |
11. Once you have all your image covered with your text, go to your Layers Palette and click on your first text layer. Now holding down the CTRL key, click the remaining text layers (the copies). Once all are selected, go to Layers > Merge Layers. |
12. You should now only have two layers your image background layer and the merged layer. |
13. Now with your merged layer selected, you are going to need to drop the Opacity down a bit. For this image I dropped it down to 25% try that, and if it looks to light or dark, adjust it until its enough to see but does not over power your image.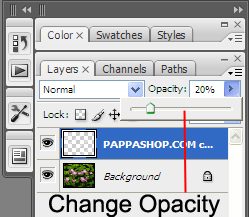 |
| 14. Now go to File > Save As > JPG, JPEG, etc. And your all done! Here is my final watermark. |
 |
- 57 Los Usuarios han Encontrado Esto Útil

